It feels like it took me a whole year to complete this 12x16 needlepoint kit...
...only to find out that I'm still not done with it, because despite stretching it out by misting it with water and tacking it to a bulletin board, it still does not fill the frame. So, I need to complete 5 or 6 more rows at the top.
This is "Old Mill Cottage" designed by Violet Schwenig for Dimensions. It was definitely the most ambitious and complicated needlepoint project I've worked on yet. There are legends for the legends, so especially near the end while working on the finishing touches like French knots, there was a bit of deciphering I had to do.
Ironically, I completed this 5x7 needlepoint kit in a week...
This is "Butterflies Galore" by Design Works.
Despite just getting new glasses, I'm still struggling to see details. I think every butterfly had at least two stitches that I missed, so I had to go back and tack in extra stitches. I need to keep a bright light over the canvas while I'm stitching. This was also the first kit that instructed me to use the half-cross stitch instead of the continental stitch, which I discovered makes it really hard to tuck in tails. I ended up creating an occasional row of the continental stitch to make room for mistakes.
I appreciated the simplicity of this particular kit because the ink on the canvas matched the yarn colors, and enough yarn was provided to be creative. I took some liberties with the smallest butterfly because it was supposed to be the exact same colors as the biggest butterfly and I wanted some variation. That's why it looks like a kindergartner completed the smallest butterfly.
Monday, January 25, 2016
Saturday, December 26, 2015
Half a Latch Hook Rug
My daughter started working on a latch hook rug when she was a child, and never finished it. While digging through her closet in search of the power cord to her heated blanket, my husband found the unfinished kit and gave it to me. I decided to finish it for her and her first grade students, and give it to them for Christmas. This was the end product...
It was a fun and easy project -- something I can do during commercial breaks while watching TV and winding down in the evenings. I enjoyed it so much that I bought another graph n' latch rug kit. I guess that means I'm hooked!
Tuesday, August 25, 2015
Current Projects
For years I have been collecting quilting patterns that involve kitchen related graphics like cups and saucers with the intention of making a wall hanging for my kitchen or a table runner.
I have never done paper piecing like this before. I have to make two copies of a pattern, cutting one into pieces, laying the pieces onto fabrics, and cutting with a seam allowance around each piece. Then I lay the pieces in the specified order onto the back on the other pattern copy and sew right through the paper along the edges.
When I am all done with the piecing and sewing and turn the paper over, this is what I get...
It's a crazy looking block. I obviously did a better job matching up seams on the right side. This was just my test piece. It took me several weeks to construct it because I've been so busy doing other things. I don't know if I'll be able to use it. I might just consider the effort practice for bigger and better things.
The other project I've had on my To Do List is to recreate my favorite top from scratch. I've worn this knit top for years, but now the material is very thin and the seams are coming apart. I haven't been able to find anything like this top, and I was having a hard time letting it go, so I shopped around in fabric shops looking for a knit fabric that would be fun to wear. I picked out the black scrolls with pink flowers on white background with black trim.
I have never sewn clothing from a knit before, and am already having trouble getting straight cuts because the edges curl. Since knits stretch, I suspect that sewing will be a challenge too. I am definitely not a fashion designer, but I'll call it a learning experience.
I have never done paper piecing like this before. I have to make two copies of a pattern, cutting one into pieces, laying the pieces onto fabrics, and cutting with a seam allowance around each piece. Then I lay the pieces in the specified order onto the back on the other pattern copy and sew right through the paper along the edges.
When I am all done with the piecing and sewing and turn the paper over, this is what I get...
It's a crazy looking block. I obviously did a better job matching up seams on the right side. This was just my test piece. It took me several weeks to construct it because I've been so busy doing other things. I don't know if I'll be able to use it. I might just consider the effort practice for bigger and better things.
The other project I've had on my To Do List is to recreate my favorite top from scratch. I've worn this knit top for years, but now the material is very thin and the seams are coming apart. I haven't been able to find anything like this top, and I was having a hard time letting it go, so I shopped around in fabric shops looking for a knit fabric that would be fun to wear. I picked out the black scrolls with pink flowers on white background with black trim.
I have never sewn clothing from a knit before, and am already having trouble getting straight cuts because the edges curl. Since knits stretch, I suspect that sewing will be a challenge too. I am definitely not a fashion designer, but I'll call it a learning experience.
Monday, August 17, 2015
Quilt Magic No Sew Wall Hanging
This is a picture of my completed Quilt Magic No Sew Wall Hanging. I ordered this kit through Amazon simply because I needed the encouragement of being able to finish a craft project. I have tons of craft and quilting supplies, but my life is so crazy and unpredictable that I can't seem to finish anything I start. This kit comes with everything you need minus the iron, pins, scissors, serrated knife and dinner knife. I was able to complete it within three days, and plan to give it as a birthday gift to my daughter to hang in her first grade classroom.
The directions are good, but not idiot-proof. I read them multiple times but still managed to screw up right away by cutting up the wrong fabric, so make sure that you read everything, including the small print, and make sure you understand it before beginning the project. I'm so used to having to do things the hard way that I didn't expect everything to be set up so well in advance. The patterns are actually grouped by fabric.
Fortunately, they do supply you with enough fabric to allow for mistakes. I was worried that I might have to find a substitute fabric because of my mistake, but that wasn't the case. However, with that said, should you decide that you don't like the color scheme or print, you can always use your own.
This is basically a laser cut foam board that you tuck pieces of fabric into. There's no sewing, no glue, no mess. As with anything, there is a minor learning curve, but with a little practice you will find yourself motoring along in no time.
Tuesday, March 31, 2015
Teapot Tissue Box Cover
I've had this Bucilla plastic canvas 6243 teapot tissue box cover needlepoint kit for probably 15 years. It still has the price tag on it, which shows that I paid $11.70 for it at Bend Franklin Crafts. I know that the branch of that store I shopped at went out of business a long time ago, and needlepoint kits cost a lot more than that now. I have no idea why it took me so long to complete it, but I feel quite satisfied to finally wrap up this project.
The most difficult parts were constructing the handle and the spout. Also, because the majority of project utilizes white thread, and because I outlined the canvas patterns with a black marker before cutting them out, the thread kept getting dirty each time I pulled it through the edges with the marker ink. I should have scrubbed the ink off the canvas before doing the needlepoint.
The assembly directions were very general with no diagrams. I tried looking up more information on the Internet regarding how to construct the spout, but the kit was so old that I couldn't find anything beyond people trying to sell unused kits on eBay. So, I did my best. I noticed that in the picture on the front of the kit, the teapot was angled to not show most of the spout, and I could tell that whoever constructed the example had trouble matching up the seams just like I did. I suspect this is one of those projects that is expected to be flawed, since perfection seems impossible given the nature of whip-stitching plastic canvas together.
But I'm happy to be done with it, and now I have a cute tissue box cover.
The most difficult parts were constructing the handle and the spout. Also, because the majority of project utilizes white thread, and because I outlined the canvas patterns with a black marker before cutting them out, the thread kept getting dirty each time I pulled it through the edges with the marker ink. I should have scrubbed the ink off the canvas before doing the needlepoint.
The assembly directions were very general with no diagrams. I tried looking up more information on the Internet regarding how to construct the spout, but the kit was so old that I couldn't find anything beyond people trying to sell unused kits on eBay. So, I did my best. I noticed that in the picture on the front of the kit, the teapot was angled to not show most of the spout, and I could tell that whoever constructed the example had trouble matching up the seams just like I did. I suspect this is one of those projects that is expected to be flawed, since perfection seems impossible given the nature of whip-stitching plastic canvas together.
But I'm happy to be done with it, and now I have a cute tissue box cover.
Sunday, August 17, 2014
Monday, August 11, 2014
Blocking Needlepoint
It's been a few years since I've made a needlepoint pillow. I actually had several partially finished kits in my possession that I abandoned years ago, and just now decided to complete them before starting my next quilting project. However, the canvases were stretched out like parallelograms and I needed them to be square before sewing the backing onto the needlepoint canvas. The instructions told me to "block" the canvas, but didn't elaborate. Thank goodness for the Internet. I learned that I needed some cork board and pins or tacks.
We found a large cork bulletin board at our local hardware store for about $30 and I was able to block two needlepoint canvases at once. You pin the canvas up, spray it with water, and then pull and pin until you shape it into a square. Then you let it dry, and if it needs additional re-shaping, you do it again. You are supposed to test the yarns for colorfastness, meaning that you take a piece of each color yarn, lay it on a paper towel, and wet it down. If it bleeds, you have to dry block the canvas. I never got that far, because I figured that with dogs in the house, the yarns had better be colorfast because I'm going to be washing these pillows constantly, and if they bleed, so be it.
The pleasure is in the process, right? Who cares if the pillow actually lasts. Here is a picture of the blocking process...
I had put the lip cord around the edge of the bigger canvas and pinned the backing on only to realize that the canvas was warped. Pinning the cord was a pain, so I left it attached while doing the blocking. The smaller canvas on the right isn't done. I just wanted to re-shape it better while I was in the needlepoint phase, and it was a good thing, because it turned out that some of the weave was so smashed together that I completely missed a section I thought had been completed.
The bulletin board should come in handy for many more projects, such as pinning quilt blocks together and viewing them from a distance. I used to hang a blanket on the wall and use static electricity to hold the fabric blocks up, but got tired of people asking me why I have a plain sand colored blanket hanging on my wall. After a while I just told them we needed the extra insulation.
We found a large cork bulletin board at our local hardware store for about $30 and I was able to block two needlepoint canvases at once. You pin the canvas up, spray it with water, and then pull and pin until you shape it into a square. Then you let it dry, and if it needs additional re-shaping, you do it again. You are supposed to test the yarns for colorfastness, meaning that you take a piece of each color yarn, lay it on a paper towel, and wet it down. If it bleeds, you have to dry block the canvas. I never got that far, because I figured that with dogs in the house, the yarns had better be colorfast because I'm going to be washing these pillows constantly, and if they bleed, so be it.
The pleasure is in the process, right? Who cares if the pillow actually lasts. Here is a picture of the blocking process...
I had put the lip cord around the edge of the bigger canvas and pinned the backing on only to realize that the canvas was warped. Pinning the cord was a pain, so I left it attached while doing the blocking. The smaller canvas on the right isn't done. I just wanted to re-shape it better while I was in the needlepoint phase, and it was a good thing, because it turned out that some of the weave was so smashed together that I completely missed a section I thought had been completed.
The bulletin board should come in handy for many more projects, such as pinning quilt blocks together and viewing them from a distance. I used to hang a blanket on the wall and use static electricity to hold the fabric blocks up, but got tired of people asking me why I have a plain sand colored blanket hanging on my wall. After a while I just told them we needed the extra insulation.
Monday, July 21, 2014
Done!
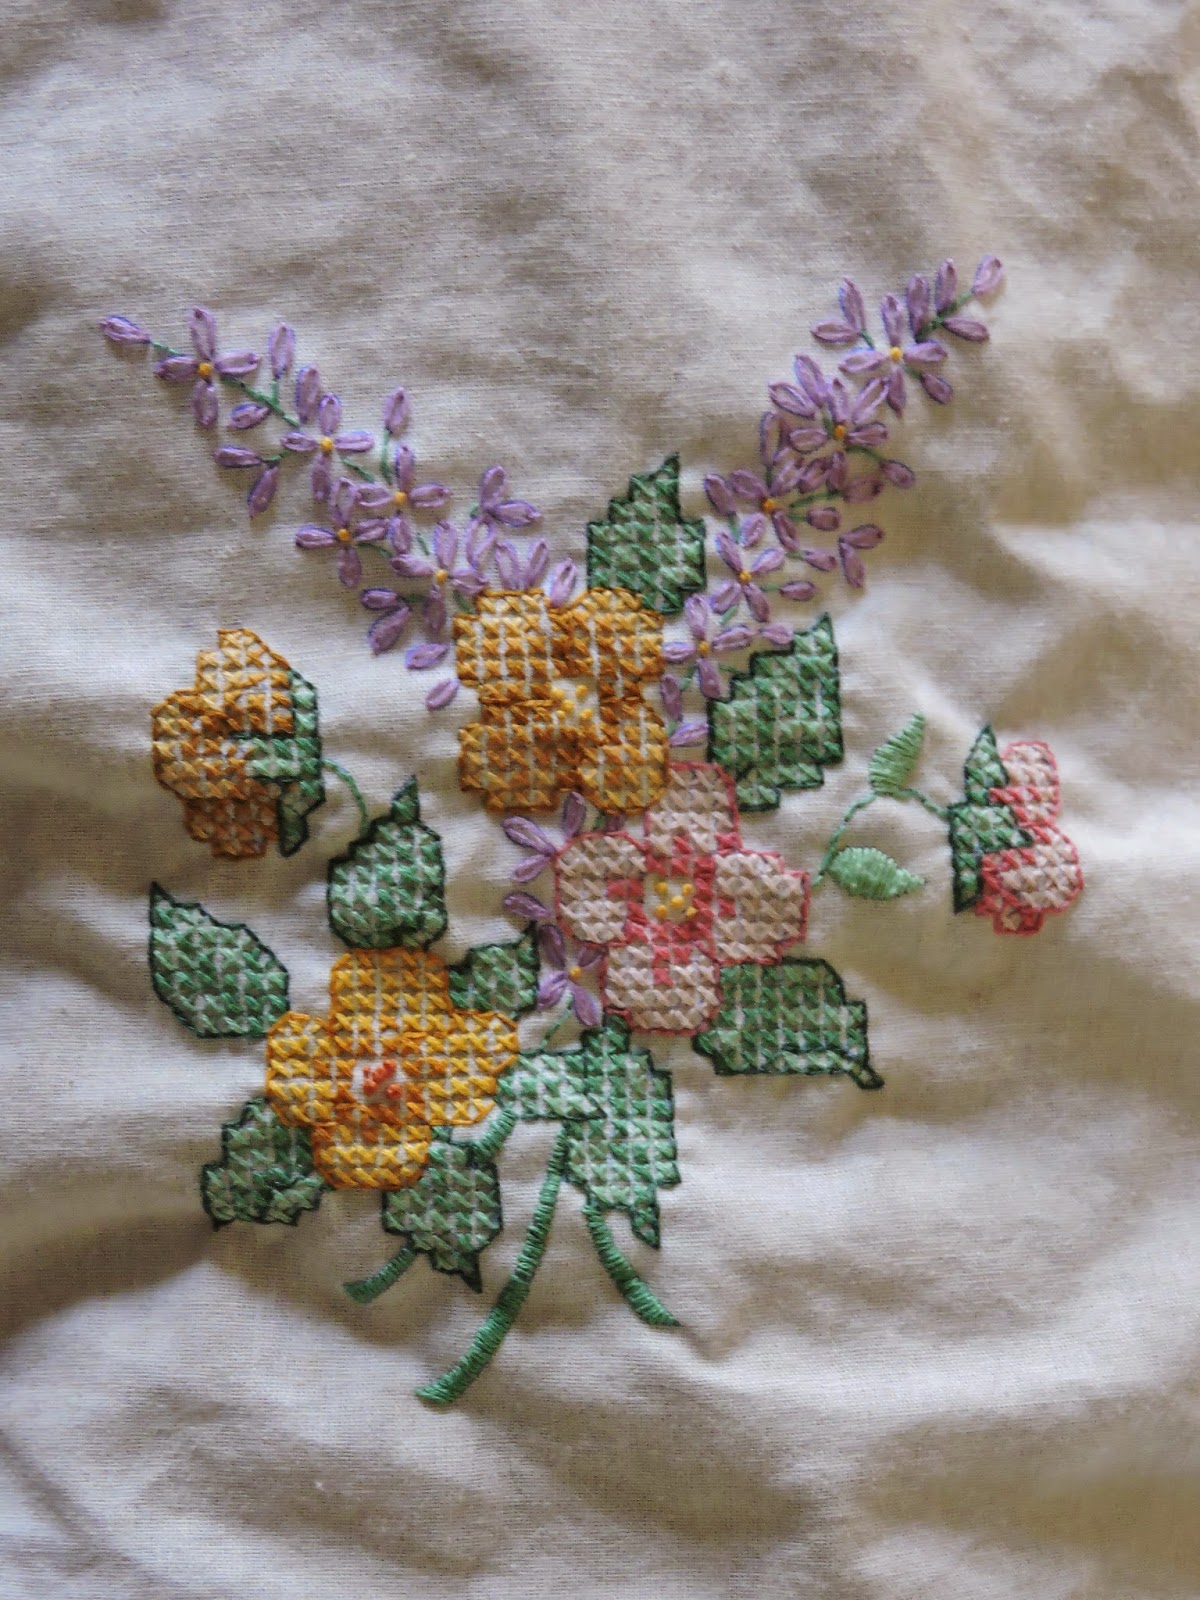
Unfortunately, because I took umpteen years to embroider this tablecloth, we no longer own a table that it will fit on. Oh well. I guess I will just wash it, iron it, and fold it up to keep on a shelf with all the other handmade crafts inherited from deceased relatives. The pleasure is in the process, not the product, and embroidering this tablecloth has brought me many hours of relaxation.
Friday, June 20, 2014
Embroidered Table Cloth
My husband bought this table cloth kit for me to embroider a long, long, long time ago. I think our kids were in grade school back then and now one has her Master's Degree while the other is a few weeks away from getting his Bachelor's Degree. I actually did start working on the table cloth back then and have been working on it from time to time ever since. I've made a greater effort recently to put in at least an hour a day on the project, and I'm not allowing myself to start any new craft projects until it is done.
Monday, August 5, 2013
Storm at Sea Quilt: 2008 - 2013
It only took me five years to complete this king-sized bed quilt! The problem? It didn't fit on my quilting rack, so I had to hand-quilt it in a quilting hoop. Also, between 2008 and 2010 I was working 80 hours a week, between 2010 and 2011 I was busy writing a novel, between 2011 and 2012 I tried to sell two houses and moved, sold, donated, or threw out a lifetime of belongings collected by five different family members including myself, and between 2012 and 2013 I'd been battling a slew of bad luck.
After a series of health related scares, I promised myself I would make finishing this quilt a priority. I suppose that makes completing the quilt all the sweeter, but ironically, we now live in one of the hottest states in America and no longer need quilts for our bed. I started such a huge project because the bed quilt given to us as a wedding gift was deteriorating beyond repair, and we were freezing during the winter months despite having the fireplace going, having the heater cranked up, wearing multiple layers of clothes, and laying under several layers of blankets. I didn't care for the dimensions of the king-sized quilts available through stores, so I decided to make my own and make it generous enough to cover our chins and our toes and each other all at the same time.
Historically, whenever I get down to the last few inches of a major project, something goes very wrong and those last few inches take me hours to complete. So, when I got down to the last few inches on this quilt and realized that I was feeling shaky between being hungry, being tired, and needing to go to the bathroom, I decided to take a break rather than to push it. Once refreshed, I returned to the quilt to sew the last three inches of the final seam on the border, and I ran out of thread. Typical. But... I could deal with it, because I had already taken care of my body by resting and eating. You can't change history or bad luck, but you can change the way you deal with it.
With that said, here are pictures of the final product:
The reverse side is supposed to be more traditional waves...
I had a hard time keeping the dogs off it each time I spread it out somewhere to work on it.
I ran out of blue fabric, so I used a fabric with seashells in sand to represent the beach...
It seems I'm always running out of something when it comes to quilting, but I view it as just one more opportunity to come up with a creative idea to substitute something else for what I need.
After a series of health related scares, I promised myself I would make finishing this quilt a priority. I suppose that makes completing the quilt all the sweeter, but ironically, we now live in one of the hottest states in America and no longer need quilts for our bed. I started such a huge project because the bed quilt given to us as a wedding gift was deteriorating beyond repair, and we were freezing during the winter months despite having the fireplace going, having the heater cranked up, wearing multiple layers of clothes, and laying under several layers of blankets. I didn't care for the dimensions of the king-sized quilts available through stores, so I decided to make my own and make it generous enough to cover our chins and our toes and each other all at the same time.
Historically, whenever I get down to the last few inches of a major project, something goes very wrong and those last few inches take me hours to complete. So, when I got down to the last few inches on this quilt and realized that I was feeling shaky between being hungry, being tired, and needing to go to the bathroom, I decided to take a break rather than to push it. Once refreshed, I returned to the quilt to sew the last three inches of the final seam on the border, and I ran out of thread. Typical. But... I could deal with it, because I had already taken care of my body by resting and eating. You can't change history or bad luck, but you can change the way you deal with it.
With that said, here are pictures of the final product:
The reverse side is supposed to be more traditional waves...
I had a hard time keeping the dogs off it each time I spread it out somewhere to work on it.
I ran out of blue fabric, so I used a fabric with seashells in sand to represent the beach...
It seems I'm always running out of something when it comes to quilting, but I view it as just one more opportunity to come up with a creative idea to substitute something else for what I need.
Subscribe to:
Posts (Atom)