Monday, August 21, 2017

My New Workspace

I meant to take pictures of my new sewing room a few months ago when I first set it up, but forgot.  In fact, I haven't even used it much since I put it together.  I've been in so much pain lately that it hurts to do anything physical, and my frustration level gets pretty high as is when it comes to sewing.  Imagine having to constantly undo what you just spent hours doing because you made a mistake.  Now imagine the same thing, but while you are experiencing relentless pain.

Yeah.  Like that.

Previously, my sewing supplies were scattered all over the house wherever there was a little space to set them up.  I could never complete any big projects, because I spent all my time running around the house looking for items I needed.  So, when it became apparent that my son was never going to move in with us ever again, I decided to turn his bedroom into my new sewing room.  I knew it wasn't big enough to fit everything in there, so I just planned to keep the essentials together.

First, we had to go through everything my son left behind and box it up.  That was mostly books.  Although, I did keep some of his books, especially the classic literature, on the shelves.  I also kept our record album collection in the room so that it wouldn't have to be stored somewhere hot where all the discs would warp.  I left enough room for my quilting books, button cases, and thread stands.

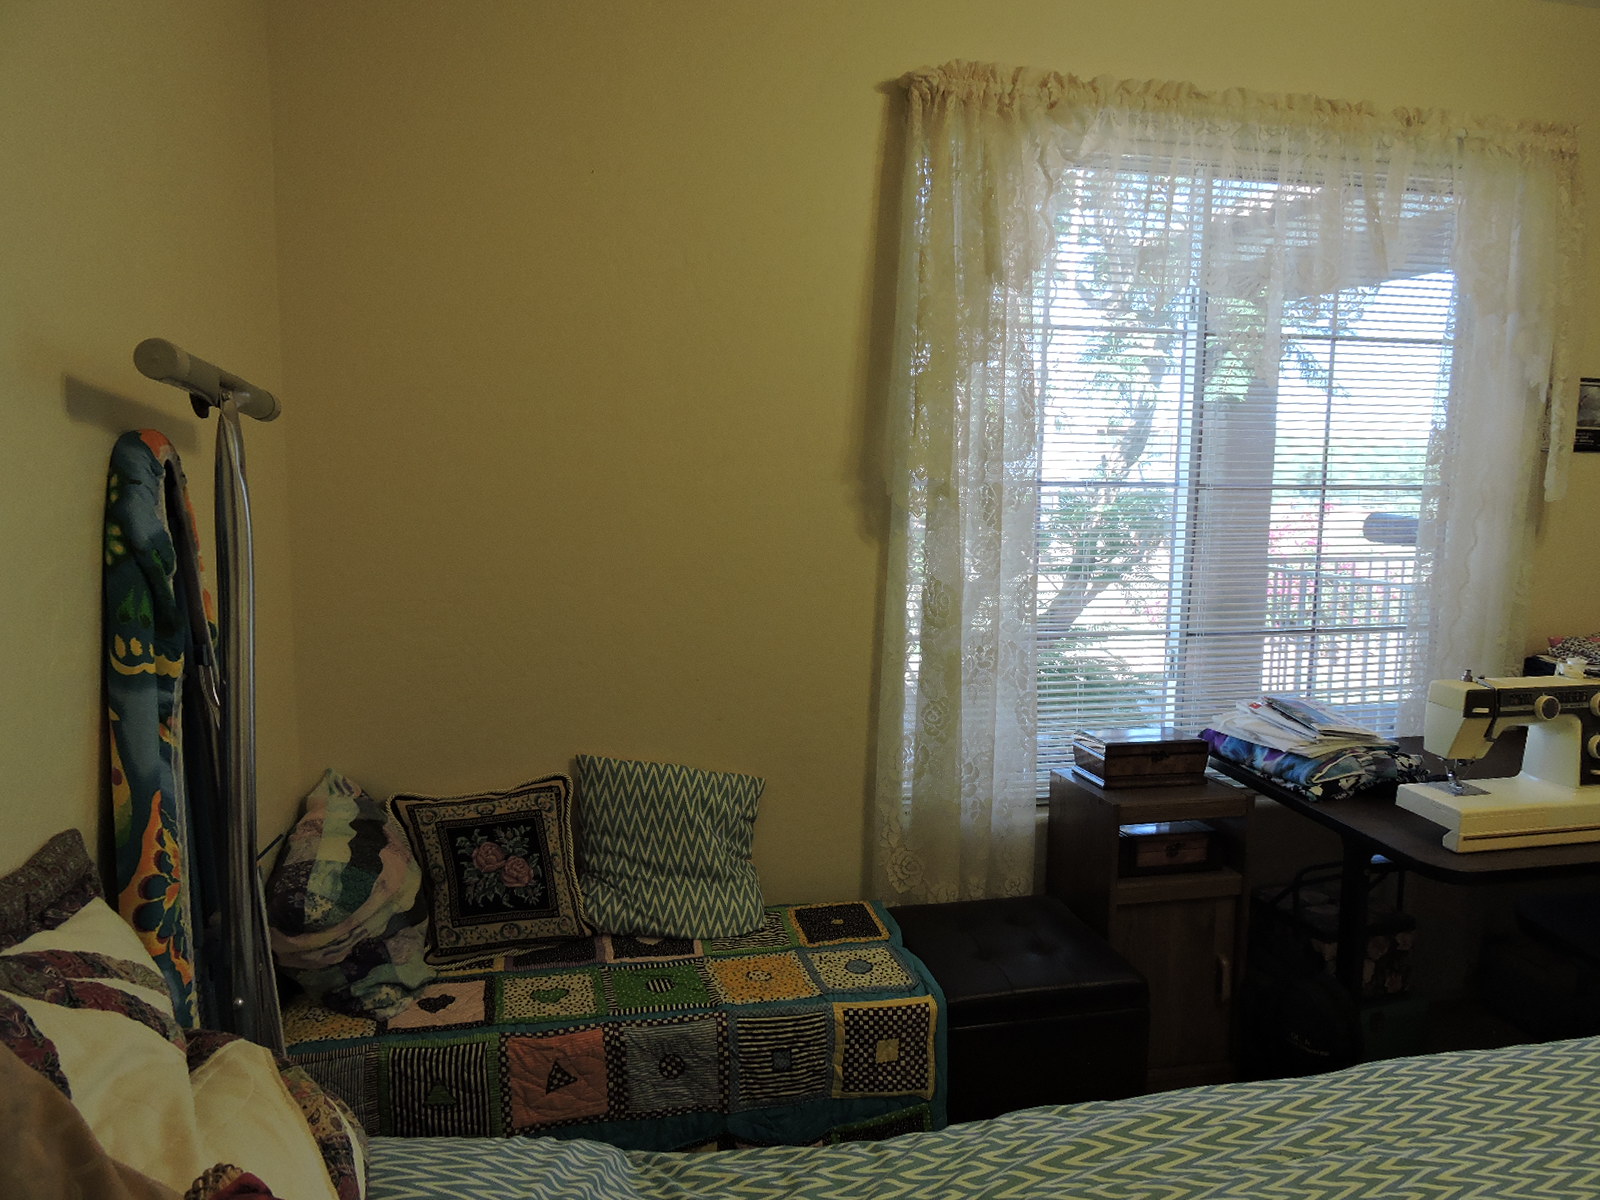
We had to take most of his furniture to the dump.  Then I replaced his uncomfortable twin bed with a comfortable full bed that my daughter was selling, so that we could also use the room as a guest bedroom in case my son and his girlfriend came to visit.  From there, I situated bookshelves, trunks, storage, and sewing tables around the edges of the room.  I managed to squeeze all three sewing machines and a serger in there, and bonus!  Because the new bed came with giant storage drawers underneath it, I was able to store most of my supplies in there rather than having them cluttering the table tops.

Here are some pictures...


This is Why I'll Never Be a Fashion Designer

Ha ha ha!  Fortunately, it hasn't been sewn yet -- just pinned.  The other good news is that I have learned never to sew until I look at the big picture and try it on.  Ripping out seams is a major hassle.  Although, pinning that seam wasn't easy either.  I was trying to get the pleating even all the way around, so it took me half an hour to pin it.  I actually did a decent job making it even the first time, but because I was so focused on that, I pinned the inside of the top to the outside of the skirt, and now I have to take out all the pins and start over.  Waaaaaah!

Monday, April 10, 2017

Cross Stitch Bookmark

I found this cross stitch bookmark that came with the canvas and instructions in my stash.  I thought it would give me something to do with my hands while watching TV during our down time in the evenings.  For the letters I used a metallic thread that was difficult to work with.  It kept fraying and breaking, but I had enough of it to complete the project.  I chose not to outline anything, because I liked it the way it was at this phase and didn't want to add in long stitches that could get snagged on book pages.

I have a lot of leftover thread from old cross stitch and needlepoint projects.  I also created a stash of thread several years ago when you could buy a skein of DMC floss for just a few cents.  It was better than candy and lasts a lot longer.  I've been trying to find needlework projects to do that will allow me to use all that thread.  This was one of those projects.  I also bought some blank cross stitch and blank needlepoint canvas and have been printing out free designs from the Internet.

Saturday, February 18, 2017

Fitting Fiasco

For years I've owned this wonderful, shapely cotton knit top that was my all-time favorite piece of clothing, because it not only had a flattering cut, but it was comfortable in any temperature, long enough to cover my bloating belly at the wrong time of the month, and dressy enough to wear in public, but not so dressy that I couldn't wear it while doing barn chores.  I wore it so much that it began falling apart at the seams.

Each time I went to a clothing store, I'd look for something like it, but could never find anything that came close.  I finally decided to recreate it myself.  I set it in my sewing room and spent about a year shopping around for the correct material.  I finally found a fabric that would work, but I wasn't sure where to start.  In the past, I always sewed clothing with the help of a pattern.  In this case, I needed to make my own patterns out of computer paper.  For about a year, I had crafter's block and did nothing.

I finally got on the stick and cut out some paper patterns molded from the shape of the top.  I then began cutting out the fabric.  After I cut out the back, I held it up to myself and thought, "This can't be right.  This is way too small."

Granted, I was holding the pattern for the back up to my chest, but I could still tell that it was way too small.  I then held the piece of fabric I just cut out up to the back of the original top, and it fit perfect.  It took some thinking, but I eventually figured out that I should try on the original top.

Holy smokes!  In the two years that it had been sitting in my sewing room unattended, my body had changed so drastically that it no longer fit me.  The top had a ribbon of material wrapped around the rib cage right underneath the breasts.  However, now that I am a middle aged woman going through menopause, my breasts have drooped to the tune of about three inches!  Which meant that I had to lengthen both the back and the front of the patterns for the new top by three inches in order to not have that ribbon of material running right over my breasts.  I would have looked pretty silly wearing that in public.

So, another lesson learned for the fabric design world.  Make sure the item you are using as your example still fits before cutting anything.  Had I kept going, I may have been able to finish the product, but I would have had to find someone who was my size from two years ago to be able to wear it, which would have defeated my entire purpose for starting this project in the first place.  I wanted the top for myself.

Saturday, February 11, 2017

Stitch & Zip Coin Purse

I just completed the Stitch & Zip preassembled needlepoint coin purse / credit card case.  This is model SZ215 Modern Tulip.  The finished size is 4-1/2" x 3-1/4".  As usual, there was plenty of floss left over.

I love these little projects.  They are so much fun, and since I don't have to constantly be consulting a legend to know what kind of stitch and what color thread to put where, I can easily needle my way through one of these while watching TV in the evenings.

I'm setting it on my coffee table, and first house guest to admire it gets it.

Thursday, January 26, 2017

Stitch & Zip Scissor Case

I completed this fun little project called the "Stitch & Zip SZ 920 Pink Rose on Black Preassembled Needlepoint Scissor Case" in about three nights.  The hardest part about it was hunting down the tiny scissors I knew I'd seen somewhere in my sewing supplies to put in it when done.

I only made one mistake.  When I finished the last stitch, I turned it over to look at the back and found a hanging loop of thread that didn't pull all the way through.  By that point I had put in way too many stitches to back up to the point of the loose thread, so I cut it in the middle with the intention of tucking each end into some stitches to finish it.  However, the thread ends were shorter than the needle and quickly frayed, making it impossible to thread them through the eye.  I gave up and cut them flush, figuring I'd fix it later once they worked their way loose.  There was plenty of thread left to do so.

It was the easiest needlepoint kit I've done yet.  Just how I like it.